Get Started with BPMApp

As low as $14.99/user. Access All 50 apps

Explore our other progressive applications

Overview

Business Process Management (BPM) tools serve as a framework for defining a systematic approach to optimizing business processes. The goal is to minimize errors, inefficiencies, and miscommunications by modelling, implementing, and automating business workflows.

BPMApp is a business process management software developed from 500apps that lets you automate all you day-to-day business processes, keeping a pulse of all tasks going into it to make your business run more successfully.

Getting Started with BPMApp

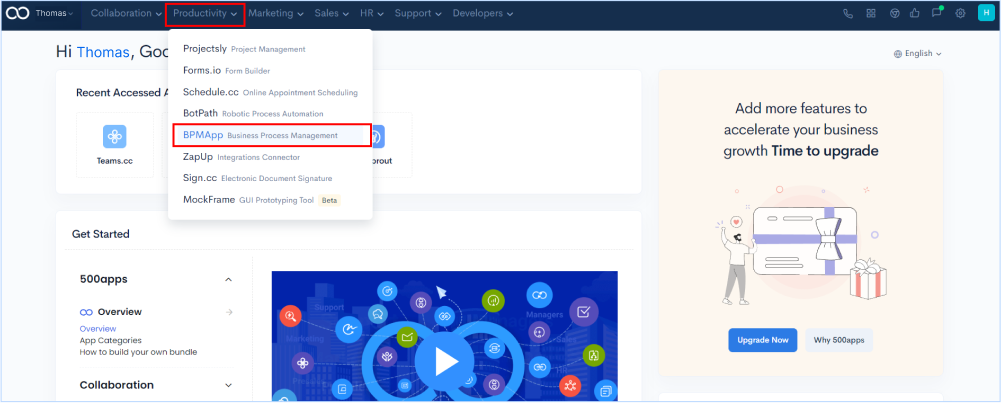
Go to infinity.500apps.com > Find Productivity on the top section of the suite > Select BPMApp from the dropdown option under Productivity

Getting Started with BPMApp

How to Create a New Project?

Start adding new projects to the workspace by giving them a specific name, description, and unique icon.

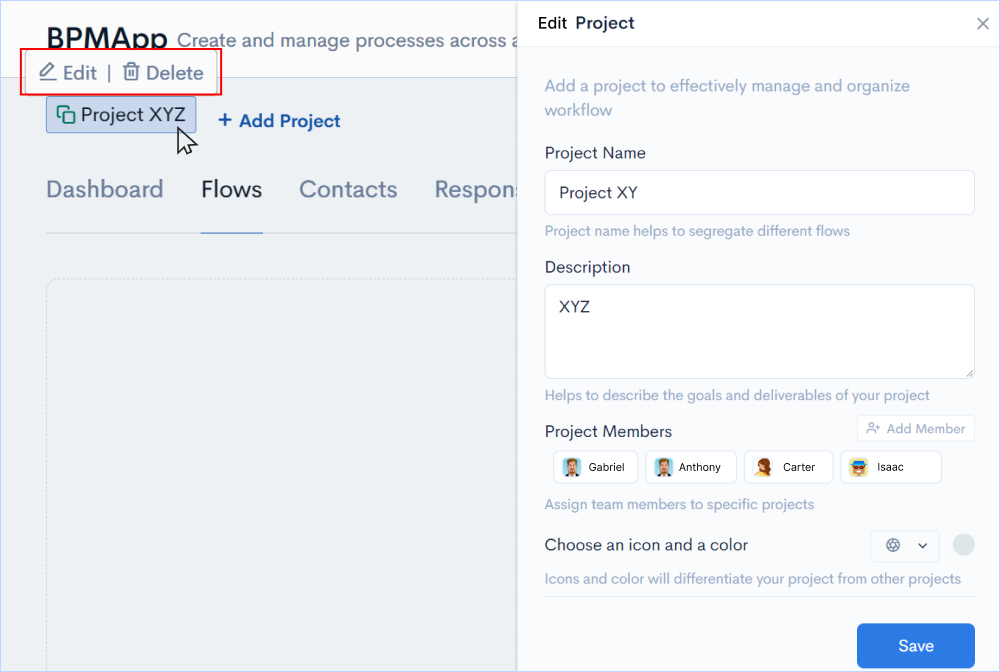
Click on Add Project and find the window (Add Project) to give project details.

Creating New Project

Adding Project Members

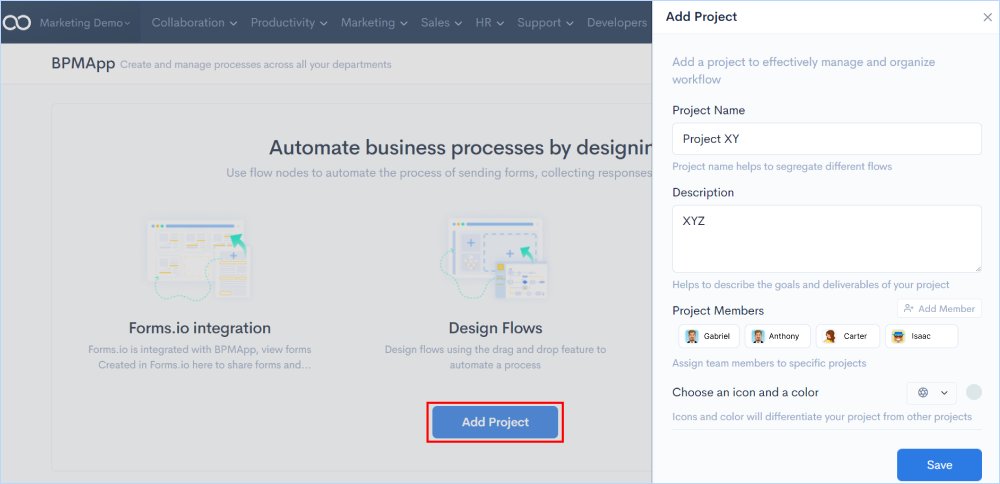
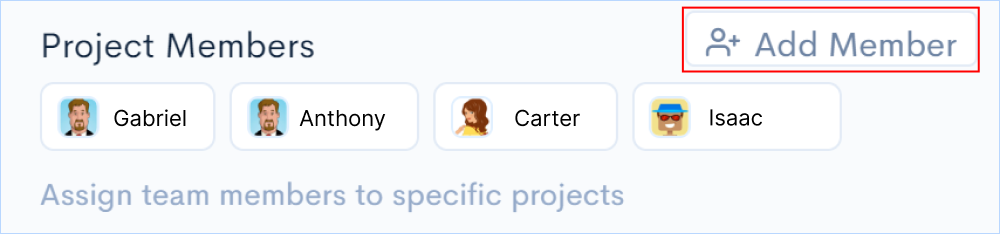
Add project team members from the existing list or invite them through the mail.

Click on Add Member from the Add Project window.

Adding members to project

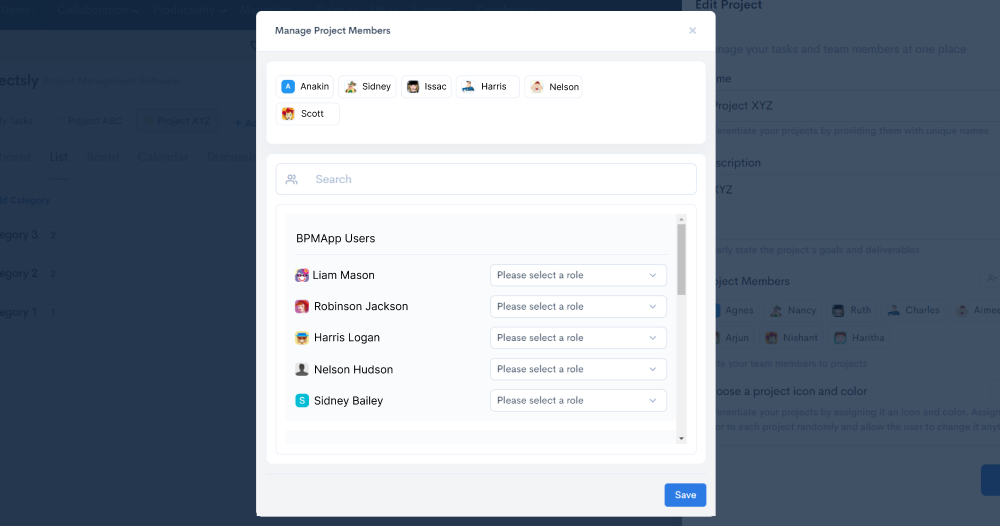
Assign specific roles to each member by adding them to the project. Once the members are chosen, click on Save.

Manage Project Members

You will enter into the workspace of Forms.io where you’ll be displayed with all features of the application.

Editing the Project

If you want to make changes to the project you have created in terms of name, description, more members to be added or remove, you'll get the edit option to do the same. Hover over the project you have newly created and you'll find the Edit and Delete options. Click on the Edit button to make changes to the above mentioned details or click on the Delete button to remove the project you have created.

Editing the Project

How to Create Web Forms for Workflow?

BPMApp has built-in form builder software (Forms.io) where you can create responsive forms on your own and use them while building workflows for automation. Go to Create Forms tab on the top right of the workspace.

Creating Forms for Workflow

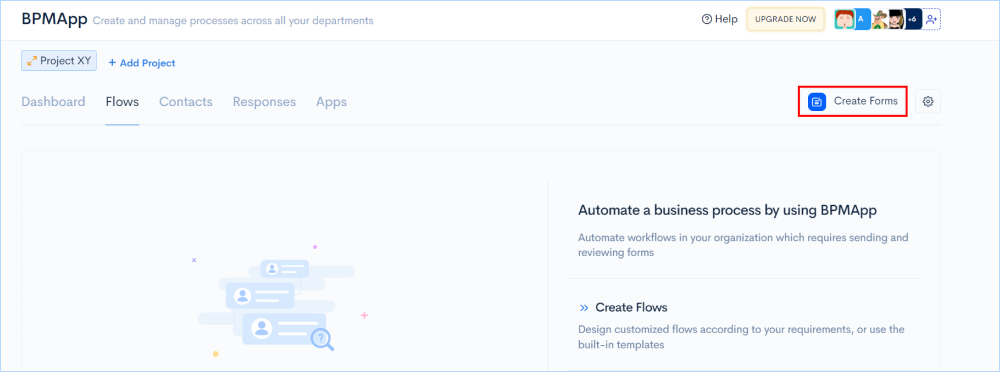
Clicking on the tab, you will be directed to the workspace of Forms.io, where you can start building web forms. Learn how to use Forms.io by reading the article Get started with Forms.io

With the forms created from Forms.io, you can now start using them for building workflows in BPMApp.

How to Create Workflows for Automation?

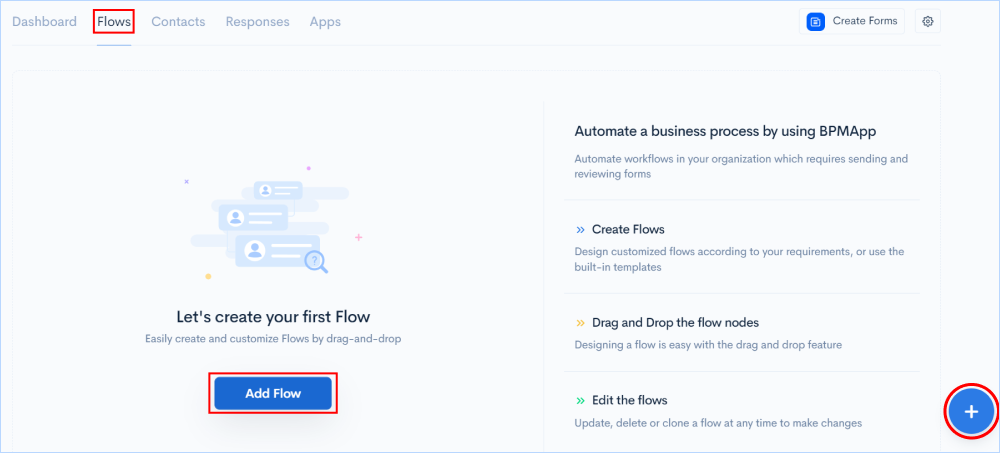
To start creating the flows go to Flows > Click on Add Flows or you can click on the ‘+’ button on the right bottom of the workspace.

Creating Workflows

Pre-built Templates

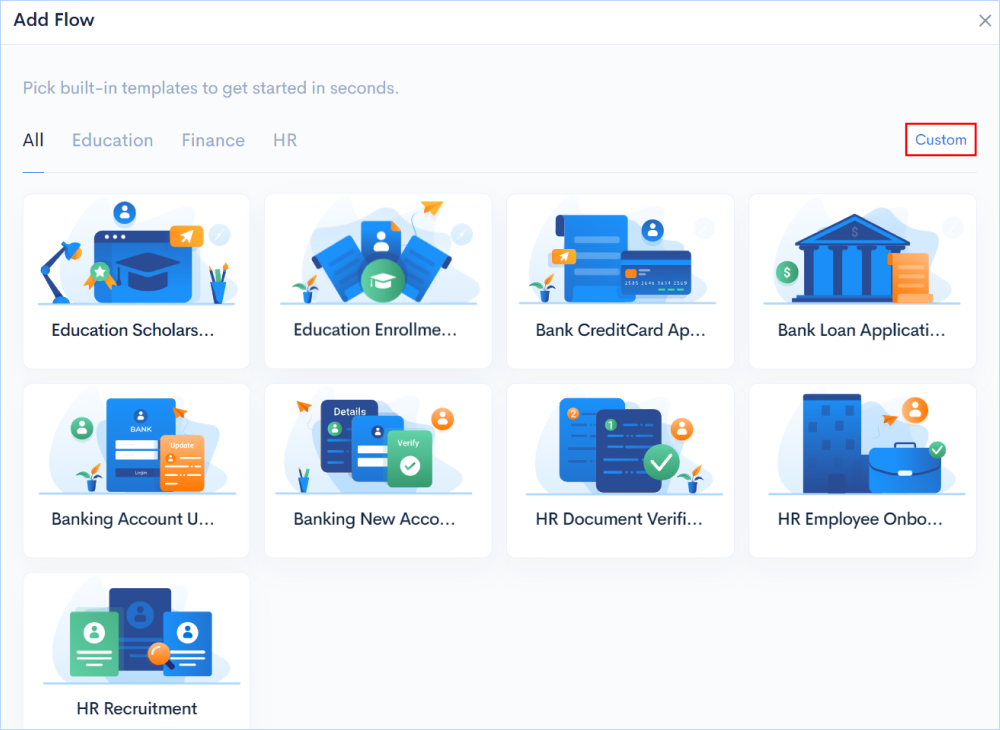
Choose from pre-built templates by clicking on the cards or you can create your custom workflows. There are multiple industry-leading workflow templates in the library for various business purposes, such as Education Enrollment Process, Bank Loan Application, HR Employee Onboarding, and more.

Pre-built Templates

Custom Workflows

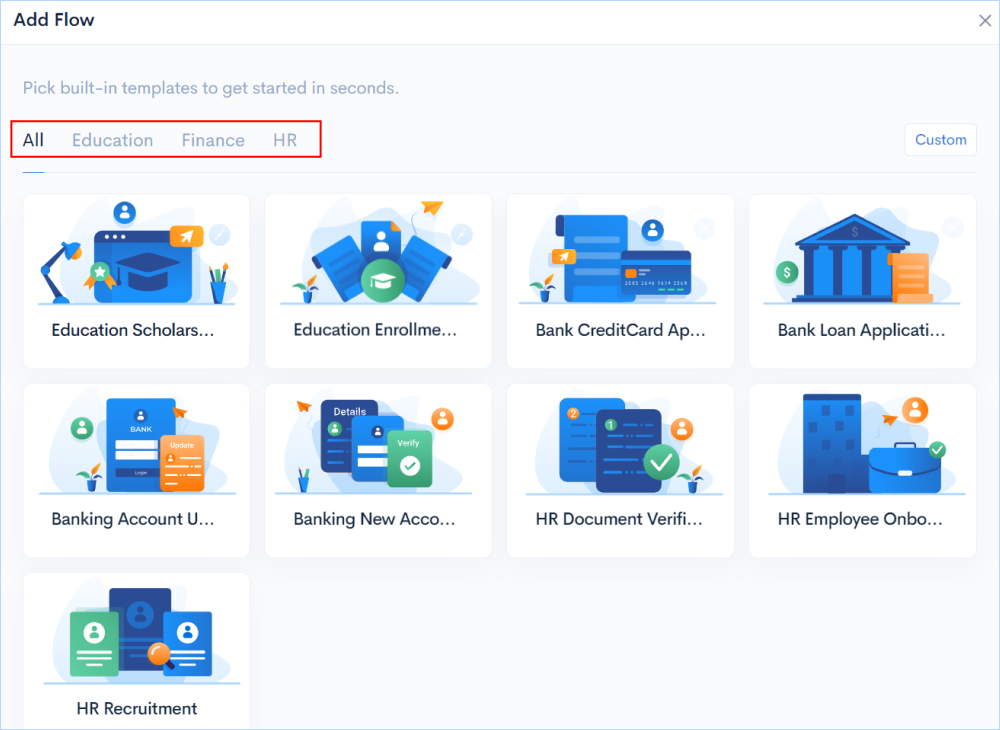
Create your own custom workflow from scratch based on your business process requirement without the use of any coding skills using the visual builder.

Click on the Custom button on the right top corner of the window.

Custom Workflows

How to Work on Drag-and-drop Visual Builder?

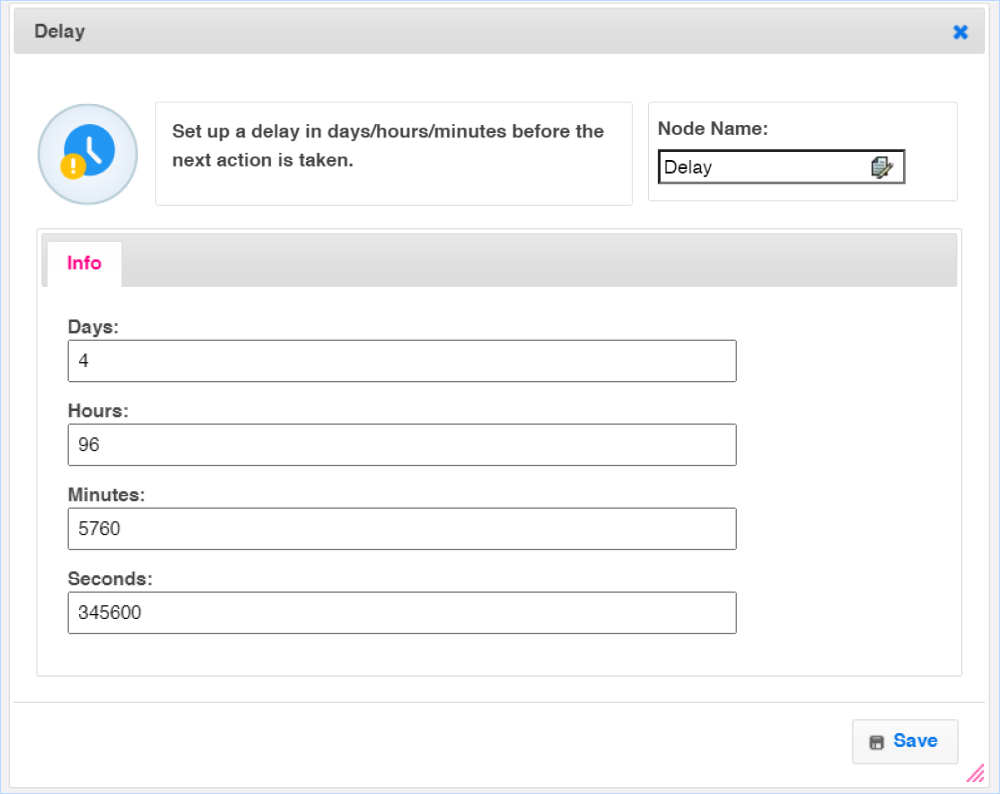
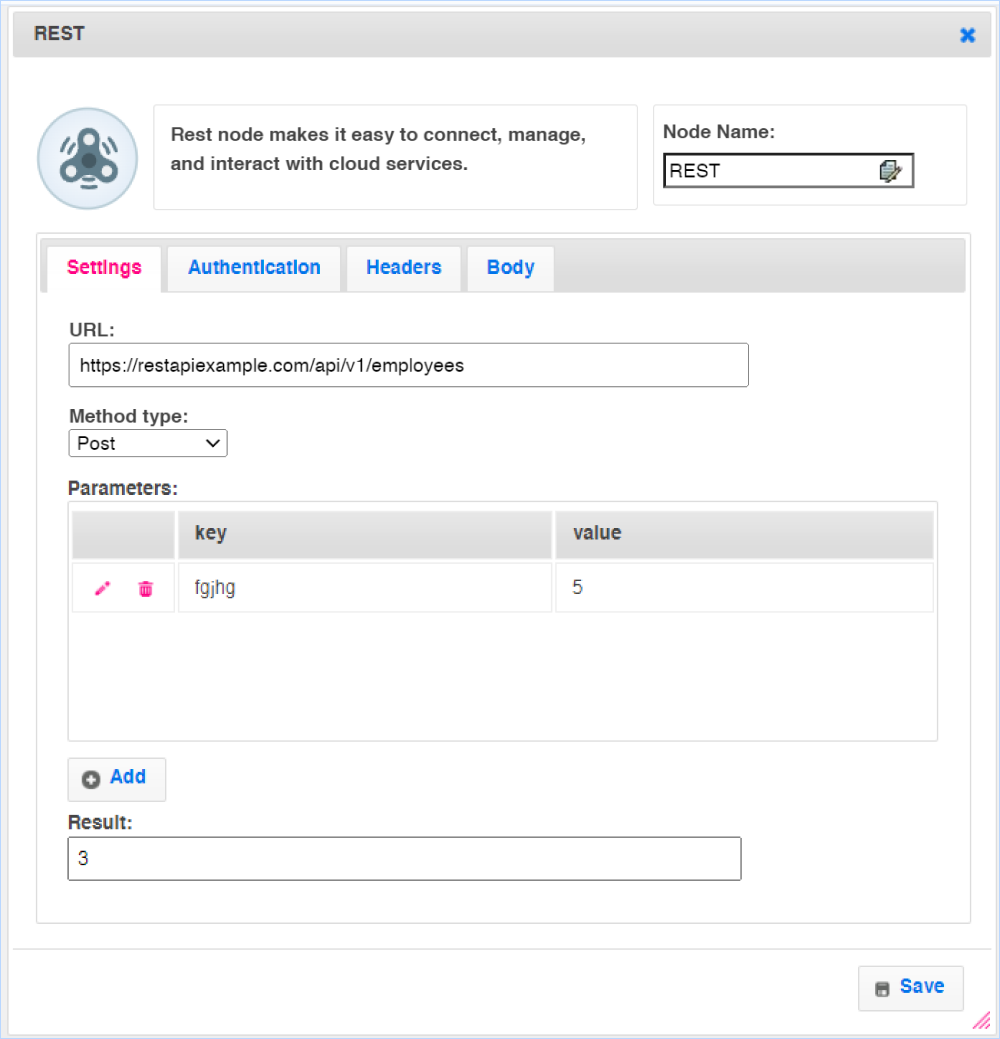
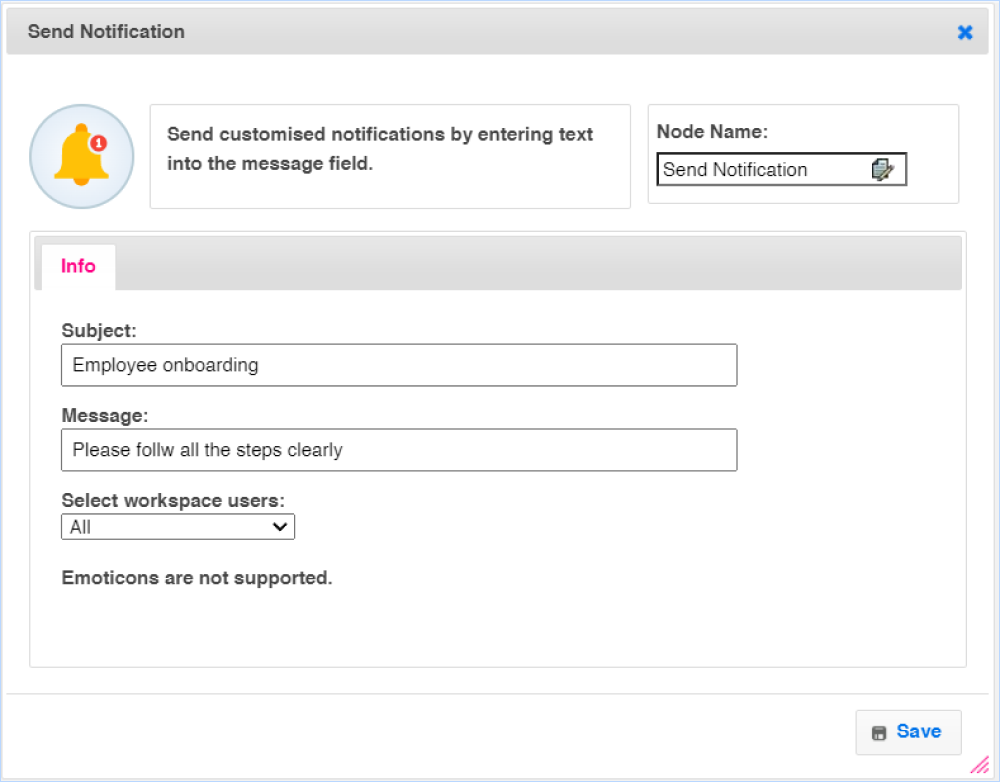
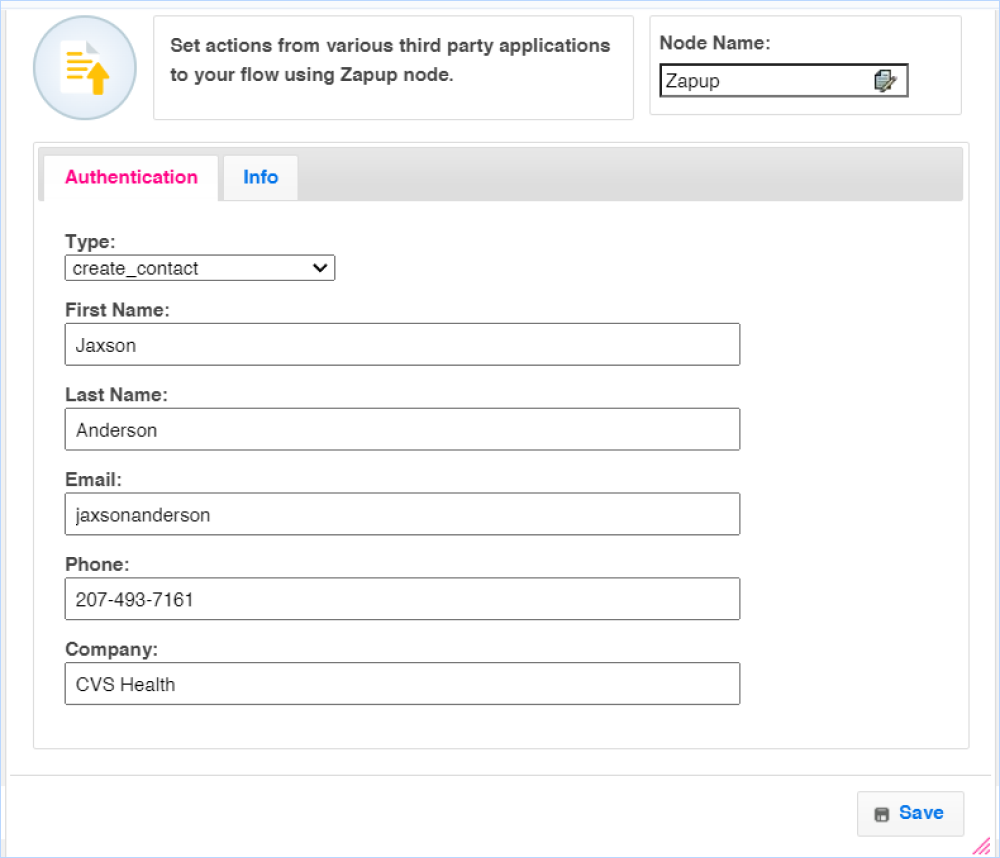
BPMApp comes with an easy drag-and-drop visual flow builder where you can create workflows to automate redundant tasks. It has a collection of nodes serving specific functionality, collectively helping to create the flows. Let’s see what each of them does.

Send Form Node

  • This node allows you to send forms created using Forms.io to contacts or employees by email. You can send forms for education scholarships, education enrollment, bank credit card applications and much more.
  • Choose a form from the drop-down menu and enter the email's subject. The email field is a dynamic field which varies based on which contacts are selected.
  • Then press the Save button.
  • This node allows you to connect to the next step if the form has been sent successfully.
  • In case of failure to send the form, it allows you to connect to the next step as well.

Send Form Node

Wait for Form Response Node

  • This node allows you to change the response form's wait time.
  • If you don't get a response from a user, you can move on to the next phase.
  • Enter the number of days, hours, and minutes in respective tabs.

Wait for Form Response Node

  • This node can also be used to compare responses to the questions on the form.
  • Go to the Answer Match tab and select Add button
  • From the drop-down menu, select a comparison question and criterion.
  • Equals indicate that in order for the condition to be fulfilled, the response and answer must be a perfect match.
  • "Contains" is the response that indicates that the condition has been met.
  • Click on the Add button As you can see, the system has improved.
  • Save your modifications once you've finished entering the questions.
  • It generates three separate scenarios for the step where
    • Answer No Match - this scenario helps you to decide the next step if the given answer by the contact is not matching the given, You can connect it to the next step.
    • Time Out - this scenario helps you to decide the next step if the contact has not given any response to the form in the given time period.
    • Success - this scenario helps you to decide the next step if the responses in the contact match the given answer.

Wait for Form Response Node

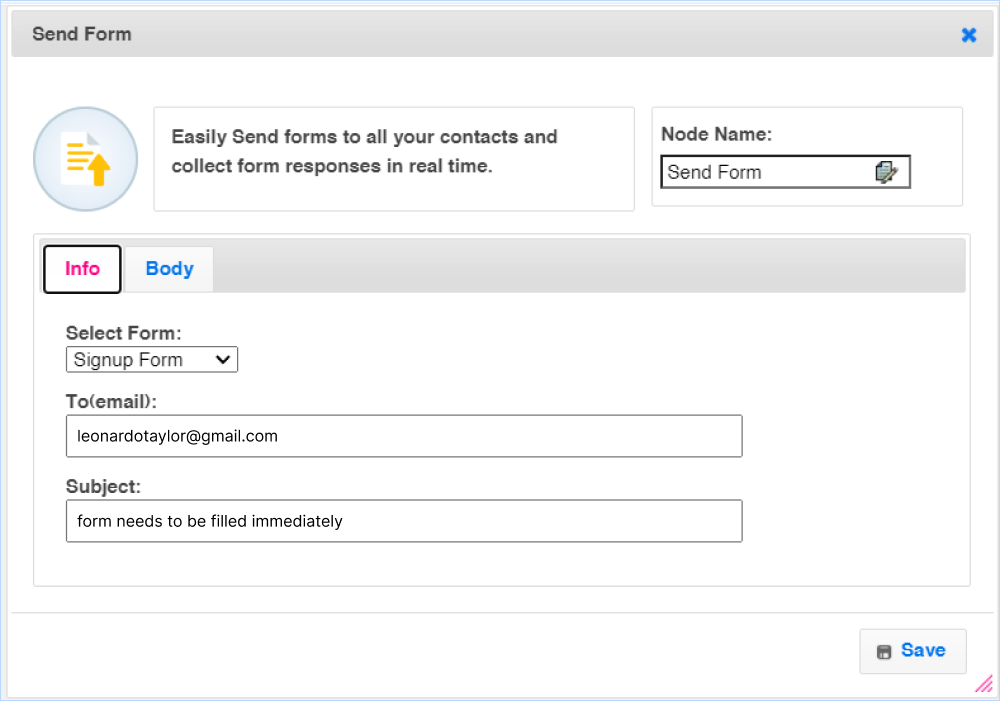
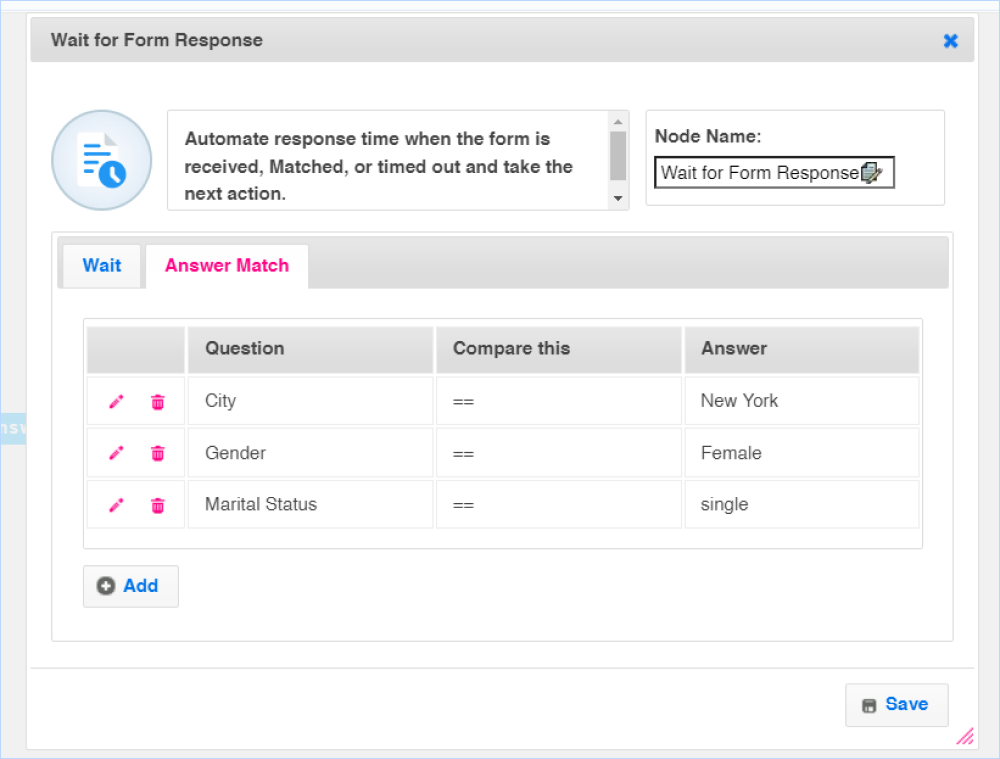
For example, if a user has not seen a specific form in three days or if the responses do not match, we can arrange the form to send it to that user again.

Delay Node

  • To configure the days, hours, and minutes for the wait time restriction, go to the Delay step.
  • This step allows you to set the amount of time that must pass before the following action is executed, and once that time has passed, it will send a validation message to the chosen recipient.

Delay Node

Send Email Node

  • You can use the Send email step to send emails; for example, if you want to send a confirmation when a form is submitted, you can input the topic and body and save it.
  • This node allows you to set up a specific email to be sent.
  • Fill in the carbon copy and blind carbon copy email addresses.
  • Fill in the email's subject and body, then click Save.

Send Email Node

REST Node

  • Use the REST API step to connect your workflow to your online infrastructures, such as databases and other third-party apps.
  • You can utilize the REST step, for example, to integrate your business process automation and store details and responses in your cloud database.
  • For example, you can match the responses of the form to the given answer, then you can get the information using the rest API and send it back to the customer via email.

REST Node

Review Node

  • This node allocates a workspace user to evaluate the response to the form.
  • From the selection menu, choose the workspace user, then click the node that is currently waiting.
  • Enter the time you'll be waiting for the review. Click Save.
  • The node allows you to decide the next step by connecting the node to approve.

Review Node

Send Notifications Node

  • To send a notification about an activity to one or all of your workspace users, go to the Send notification step.
  • Select the person or all users, then save the notice subject and message.
  • The Deliver notification node can be used to send messages to all users in your workspace about a form or response.
  • Enter the subject and message you want your workspace users to view for this notification. From the drop-down, you can also choose which workspace users should receive this message
  • Then press the Save button

Send Notifications Node

ZapUp Node

  • ZapUp, which is included with the membership, is another excellent app we built. Zap can be found in the app store's Productivity category.
  • This stage allows you to, among other things, add the call to the CRM, send a notification to Team.cc, connect with Linkedin, and post an update.
  • Consider: When you connect your BPM app to your CRM apps, the flow will upload subscriber information to your CRM apps right away.
  • This is yet another excellent programme that comes as part of your subscription. - ZapUp can be found in the Productivity section. This node can be used to create workflow triggers. Working with third-party programmes is a plus.
  • Connect BPMApp to your CRM apps to automatically add subscription information, such as to have subscription information added to your CRM applications right away.
  • Our examination of business process automation has come to a close.
  • You can save it once you've completed the process and given it a name.

ZapUp Node

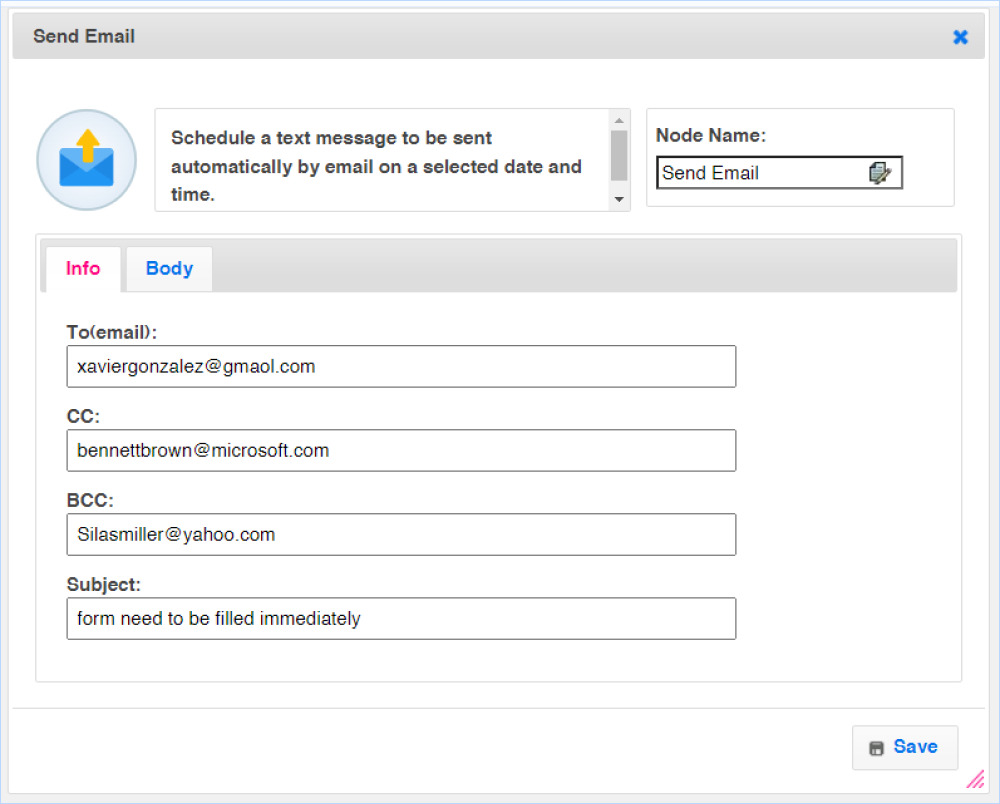
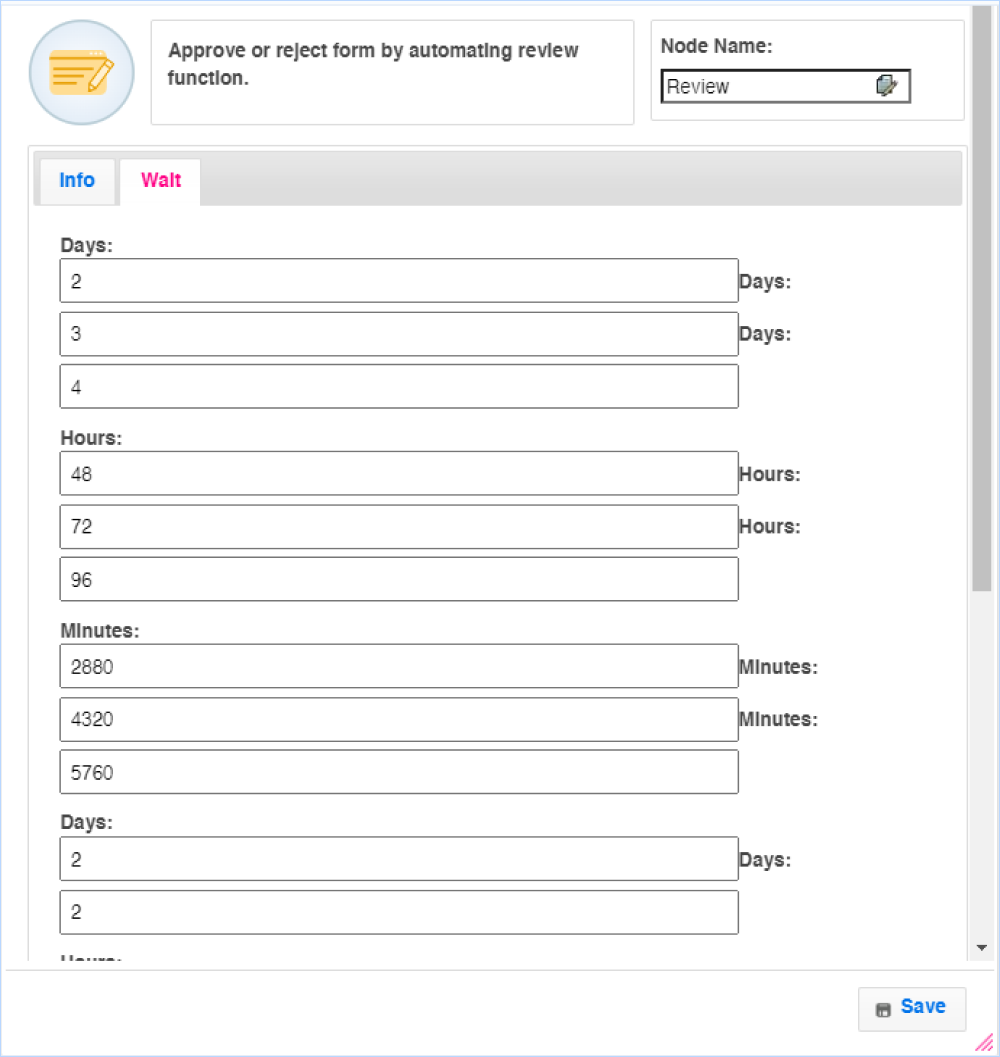
Here is an example workflow created on HR employee onbording. The workflow automates the onboarding process by sending a form to the recepients, once they submit the form the response is send to a reviewer. Once the evaluation is done the onboarding is accepted or rejected.

Visual Builder

How to do Contact Management?

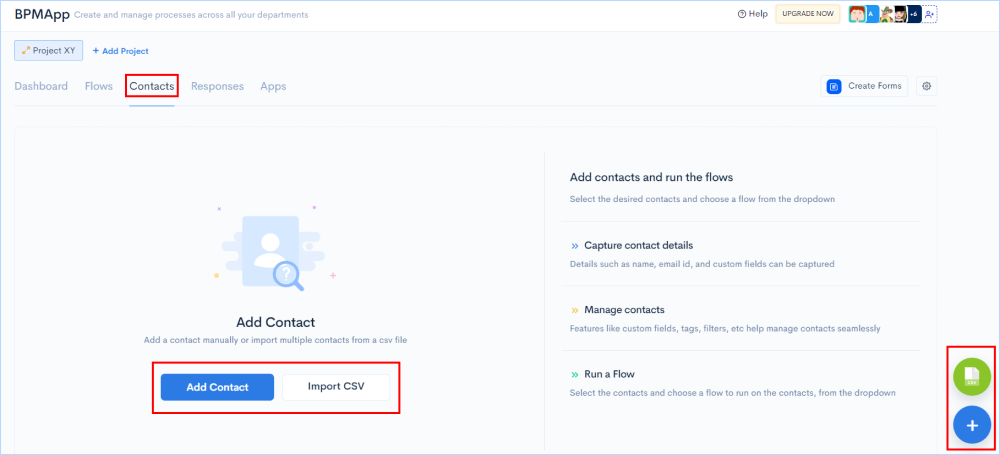
Maintain a repository of contacts to whom you wish to send the forms as part of your business process. All the contacts will be organised and managed in one location.

Contact Management

Import Contacts

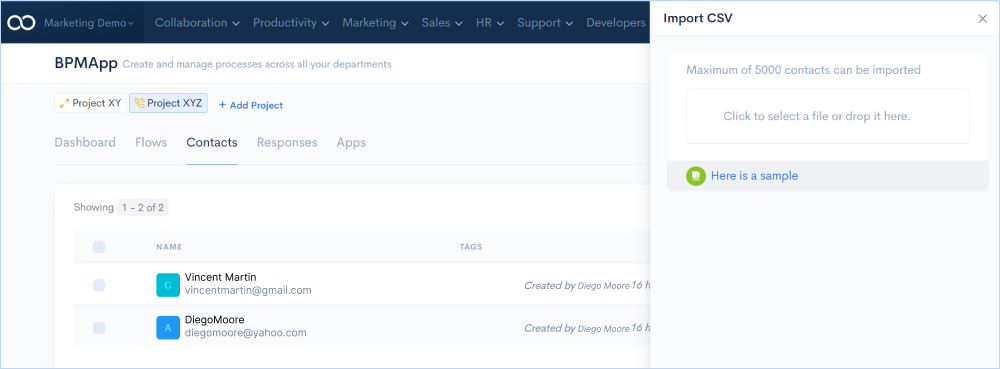
Import contacts from a CSV file, where the contacts are organized in a specific format. For ease of usage, download the sample file and adapt the same format. You can use your system to upload the file.

Import Contacts

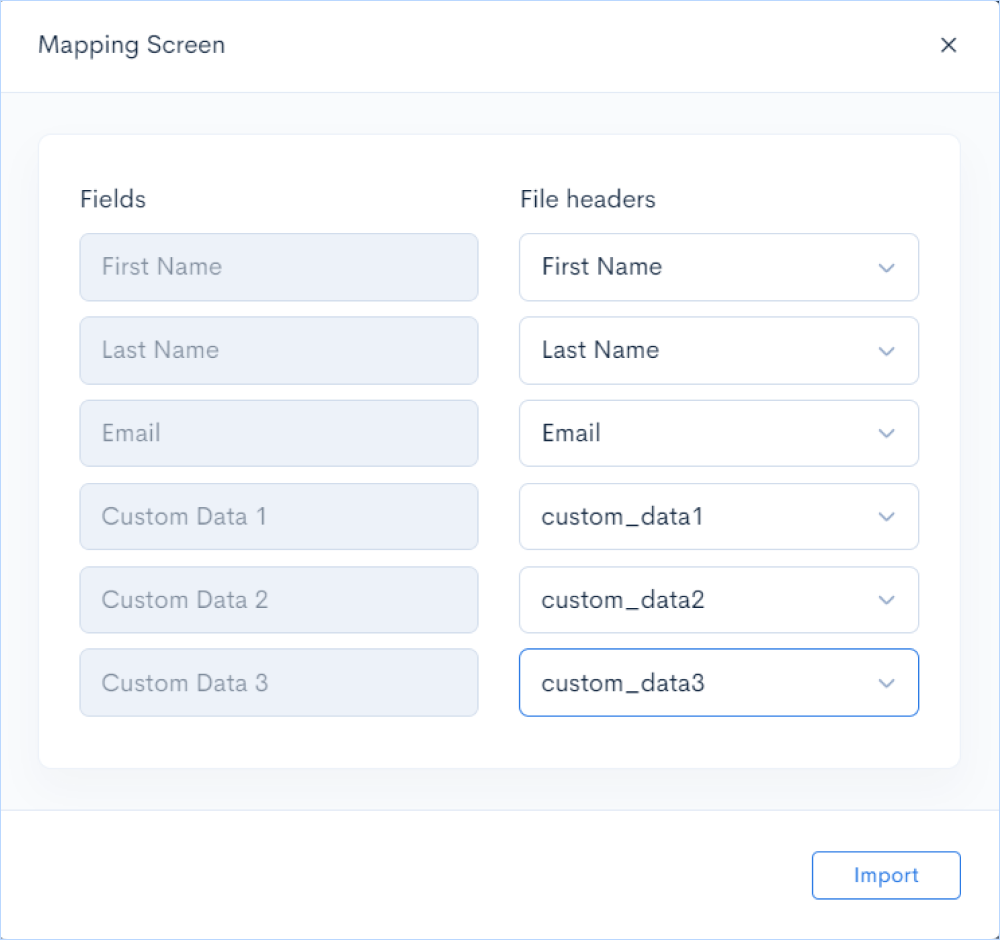
Once you import you will get a window to map all the fields from the spreadsheet.

Mapping Screen

Adding Contacts Manually

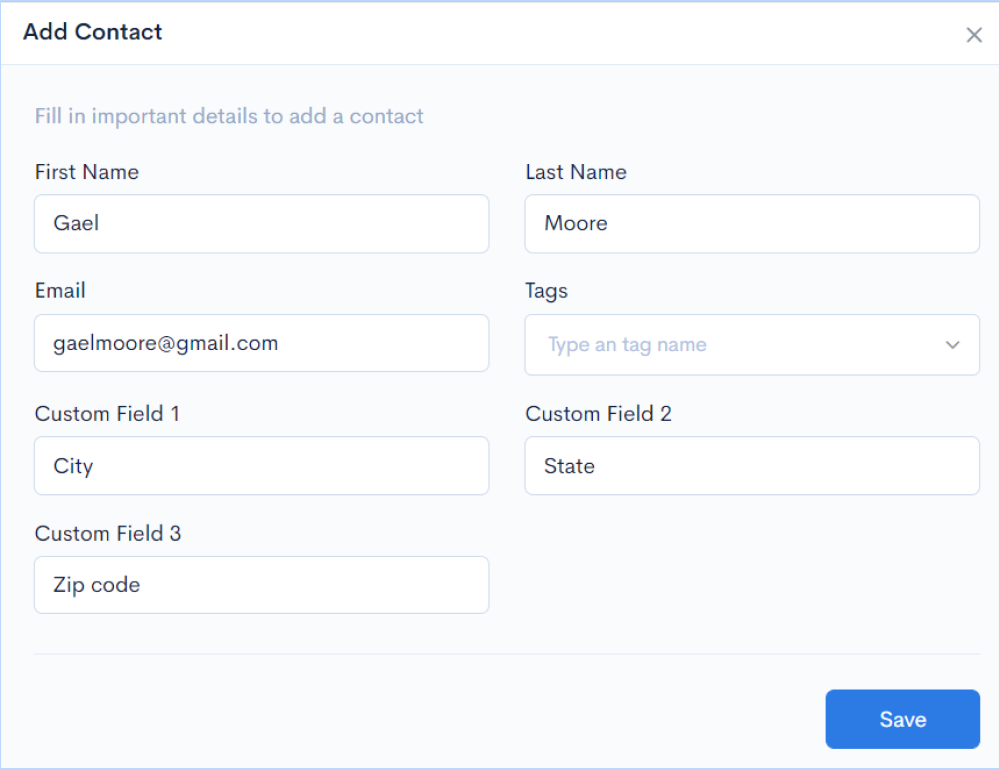
Start creating a contact list by manually adding all the required fields if you are not prepared with a spreadsheet with contacts.

Add Contacts Manually

Send Flows to Contacts

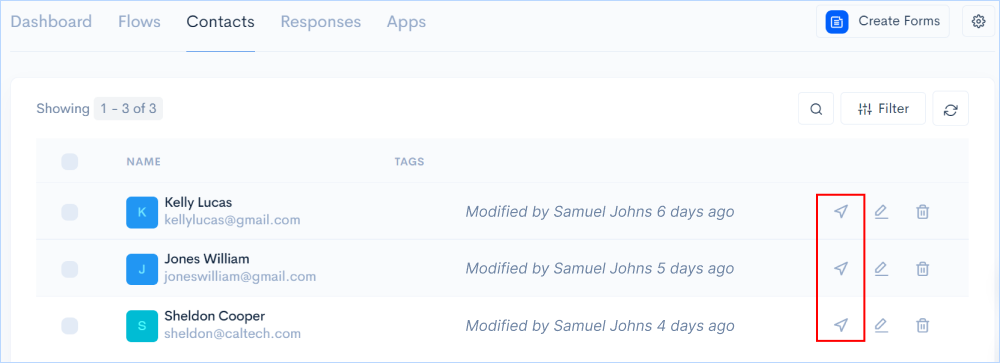
With a tap of your finger, you can send the business process flows you've designed to all the contacts created. Choose whether you want the flow to go through all of your contacts or just a few. Choose a flow from the drop-down menu and choose when it should be sent - for example, now or later.

Send Flows to Contacts

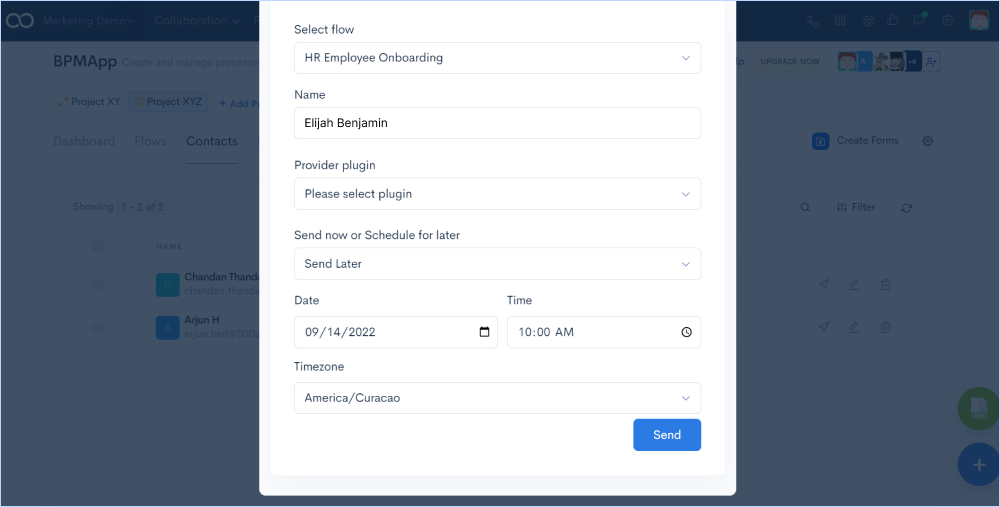
Once you click on the send button, the following window will be displayed where you gave to give the required inputs.

Send Flows to Contacts

Send Flows in Bulk

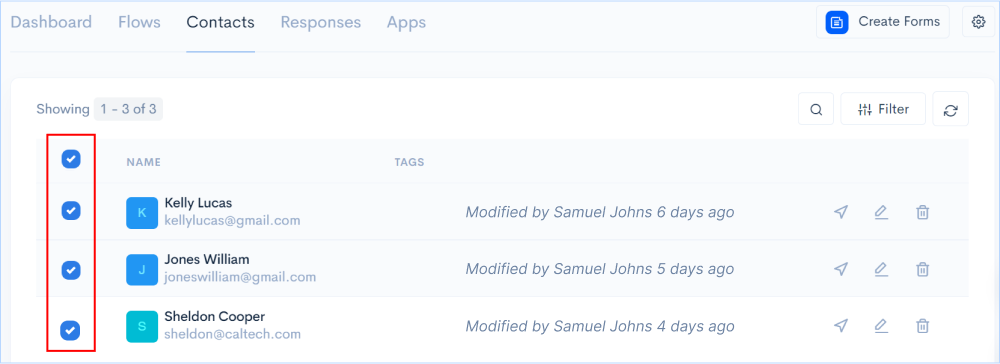
Using the checkbox in BPMApp, you can select numerous contacts at once and send them.

For example: This can be used to send the HR employee onboarding sequence to all of your new hires at the same time.

Bulk Send

Filter Contacts

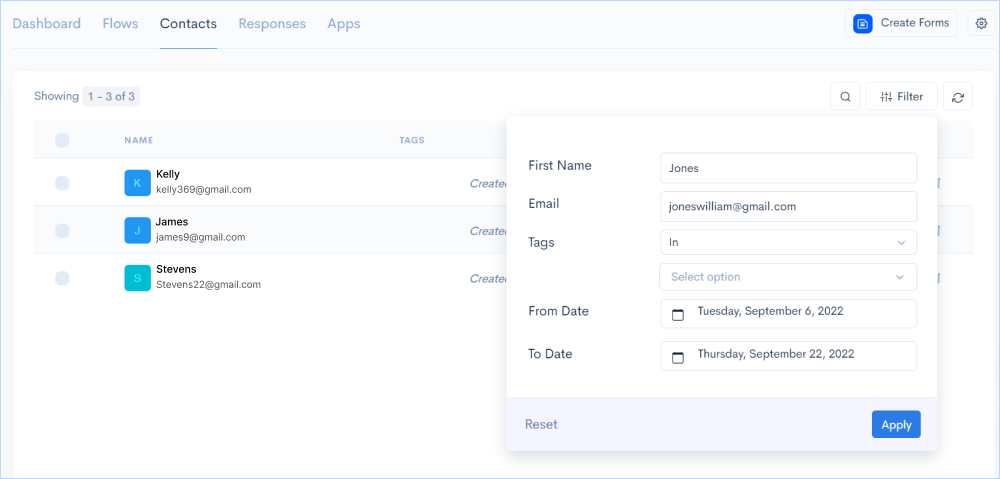
Filter contacts by name, email, and tags, and then create contacts from a date range. Reset the filters and start over with your search criteria by clicking the reset button.

Filter Contacts

How to Manage Flow Responses?

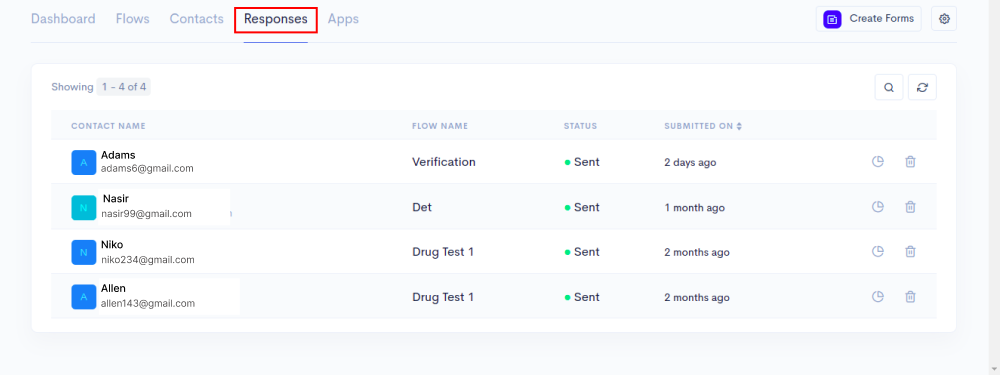
All form responses and statuses are saved here. Responses can be viewed in a list view and you can read response details and remove an answer from any view.

Managing Responses

Response Details

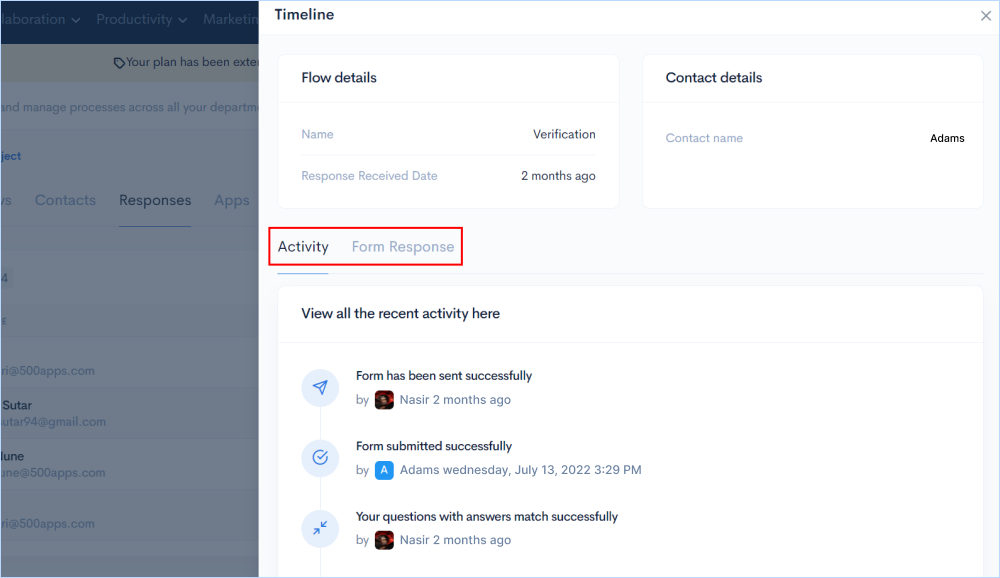
BPMApp generates thorough reports on the contact's activity and the response submitted by the user along with contact and flow details in a timeline.

Response Details

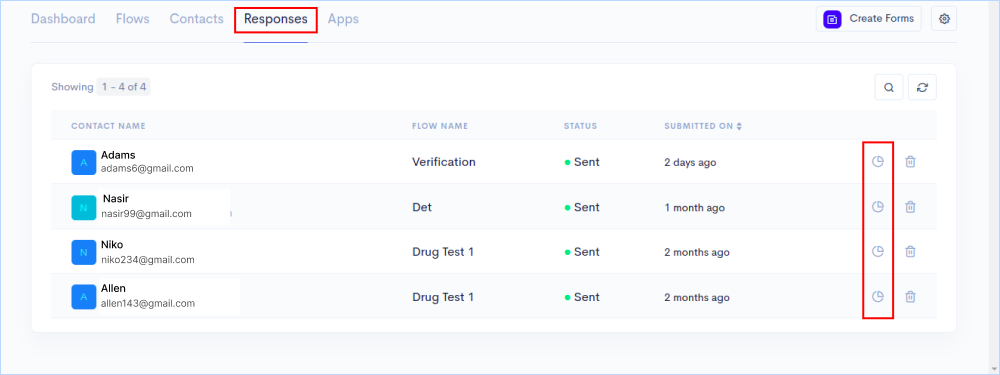
Clicking on the Response Details button on the right-hand side of each contact you will be directed to the following window where you'll find the details of the user activity.

Response Details

How to Generate Reports on Workflows?

Find out more about business process flows, total workflows, total flows transferred, and contacts created. These advanced reports can be further filtered by selecting a specific flow from a drop-down menu and a date range.

Generating Reports

Custom Dashboard

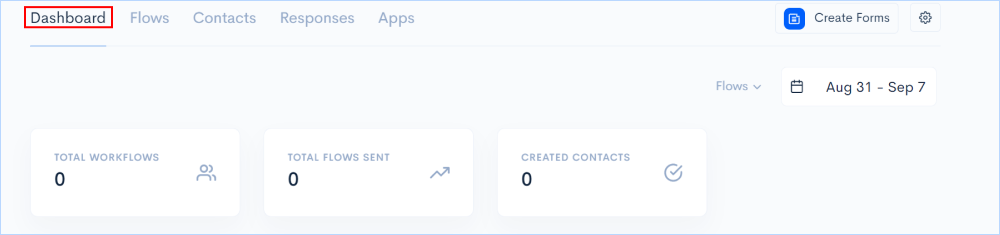
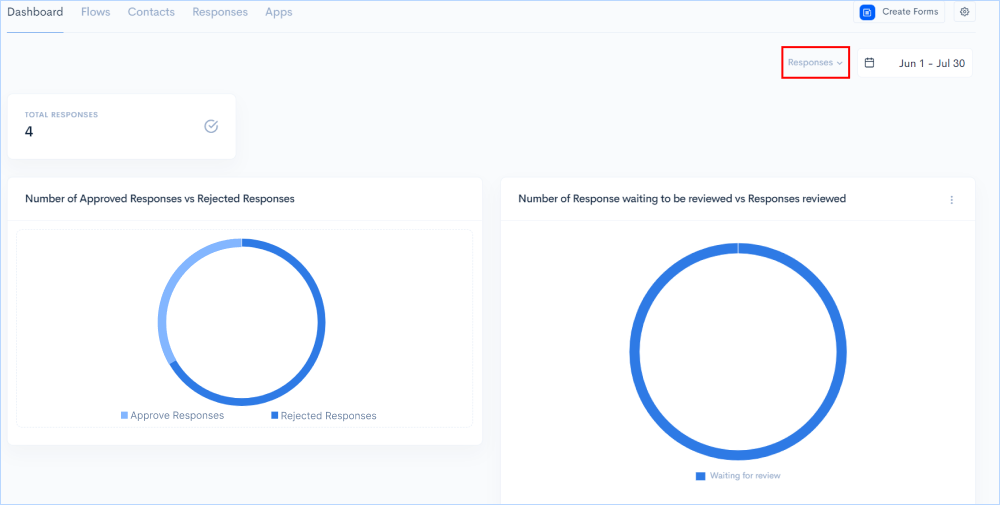
Switch the dashboard view based on Flows or Responses using the filter option on the right top. You’ll see pie charts giving insights on responses received from users.

Custom Dashboard

Start Creating Your Business Process Workflows for Free Today with BPMApp!

Go to the next level with 500apps logo

Get 50 other apps with BPMApp - Join the SaaS Revolution - 500apps, $14.99/user flat pricing, 24/5 Support (Phone/Email/Onboarding)

500apps banner